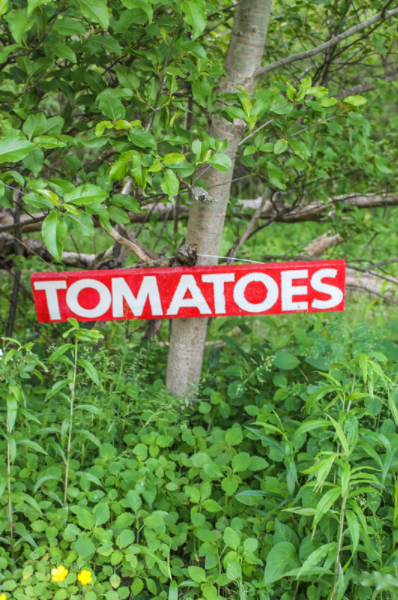
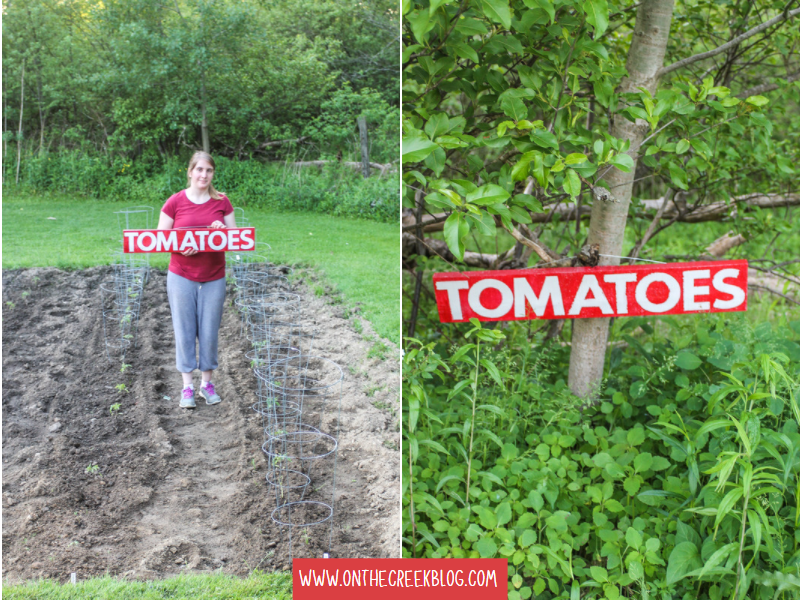
After planting so many tomatoes this year, I felt like I needed a sign to go with them!
Sign making is something I want to start doing more. It's a huge learning curve for me, though! Because I have no artistic skills whatsoever, I can't just paint the lettering on! I have to use a cutting machine to cut the letters out for me!
I bought a Cricut a few years ago & have used it maybe a handful of times. The Cricut is also another huge learning experience! I really need to just sit down & read the million tutorials there are on it! So far, I've only used i
t to create basic things, like this sign!
t to create basic things, like this sign!
Now, back to this vintage inspired sign!
To start, I took an old piece of wood that we already had. I had my husband cut it down to the approximate sign I needed. I had previously measured the height & was planning the lettering, so I knew the approximate length I needed.
Once the board was cut, it was time to paint! I was originally just going to paint it & then trace around my letters & hand paint them with a paint pen. That's why I painted my finished color first. Then I realized there was an easier alternative--I could just paint the color I wanted the letters to be, put the letters on & then paint over them with my finished color. So once I peeled the letters off, they would be the color I wanted!
I already had this red paint on hand & this was the first project I used it on. I got it on clearance a long time ago & I was surprised at the coverage! It went on great!
I used my signature white paint for my lettering coat. I could have just painted where I wanted the letters to go, but I then decided to try to go for a layered paint look. I wanted this sign to look old & layers of paint help with the aged look!
Then it was time for lettering! I created my template in Canva. I recently got a new computer, so I don't have a lot of fonts (lettering). Canva has been such a tremendous help! You can create almost anything with Canva! The social media templates are great! I created my Facebook cover using Canva!
For this project, I used the custom dimensions design to create the size of my sign. Then I made the lettering.
After I was happy with my design, I saved it in a way that would work with Cricut Design Space, the program Cricut uses to cut out the design. My cutting mat is 12inx12in so I had to move things around a little so it would cut right.
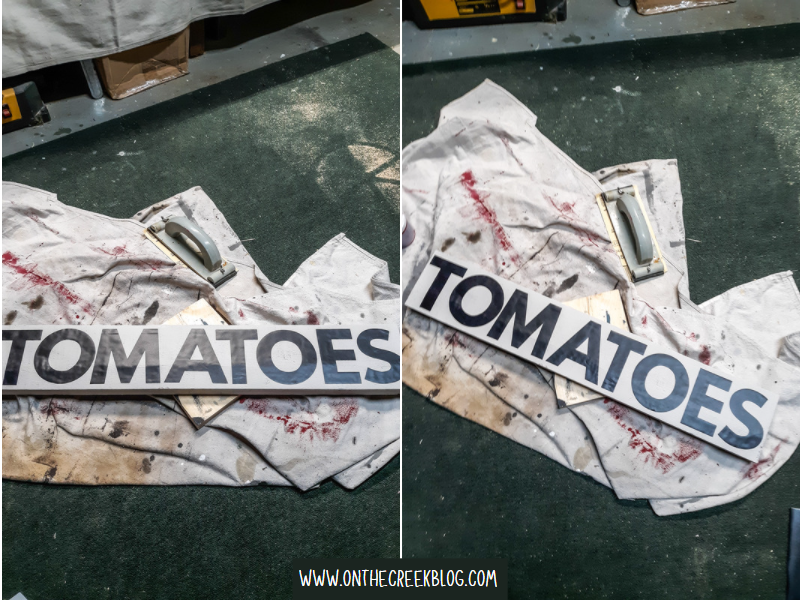
I cut my design out on vinyl & then I stuck the letters onto my board. It's super tedious to get the lettering just right. Luckily, I was going for a more vintage/handmade look, so it perfection wasn't needed!
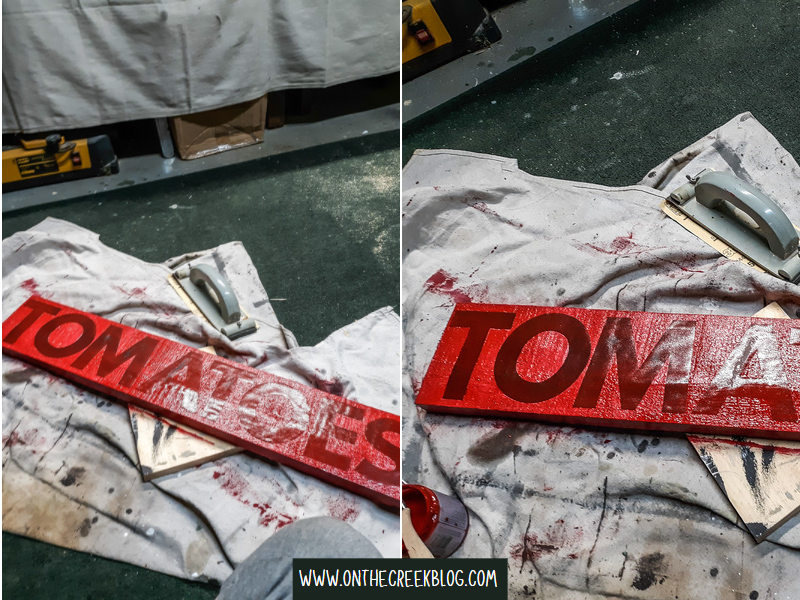
After the letters were on the board, I painted the entire thing with my final color. When the paint was still tacky, I gently removed the lettering. My husband suggested using a knife to get under the lettering & it worked great!
I was expecting a lot of bleed through from the paint, but it was surprisingly very minimal.
It has the vintage & handmade look I was going for! I enjoyed making that sign so much that I ended up making another one! The new one will be coming to the blog next week!
Sign making is something I totally want to do more of! I still have a lot to learn but it's been super fun so far!

.png)


No comments:
Post a Comment