I'm back with another sign!
After seeing how easy it was to create my 'Tomatoes' sign, I wanted to make another sign!
I took a slightly different approach with this sign.
I originally wanted to make another sign that looked like the 'tomatoes' sign but I didn't have any more of the old boards.
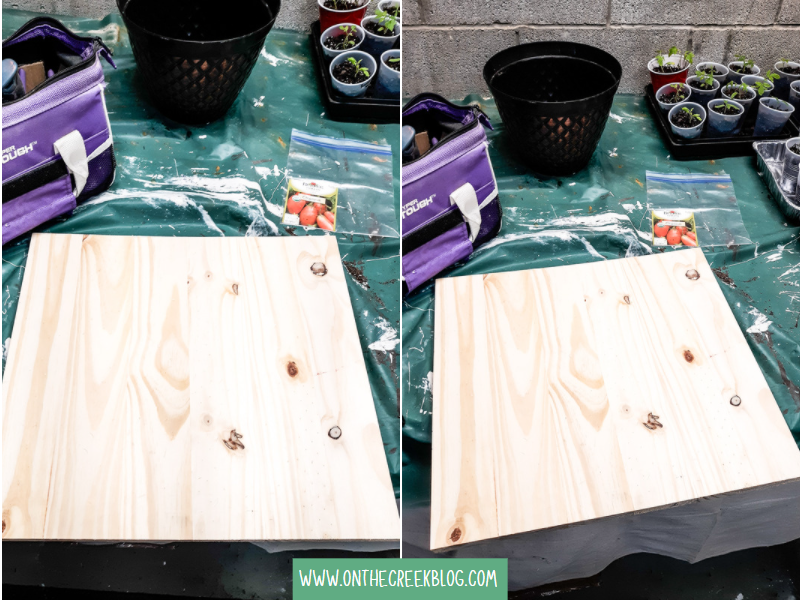
What I did have was a piece of thick pine board, so I decided to use that. Because I wanted a square sign, I had my husband cut it down to size.
Once the board was cut, it was time to create the sign!
I wanted to give the board an aged look. I followed Deb & Danelle's tips for making new wood look old. I used a hammer & screwdriver to make grooves in the wood. Since pine is a soft wood, it was super easy to make "age" spots in the wood.
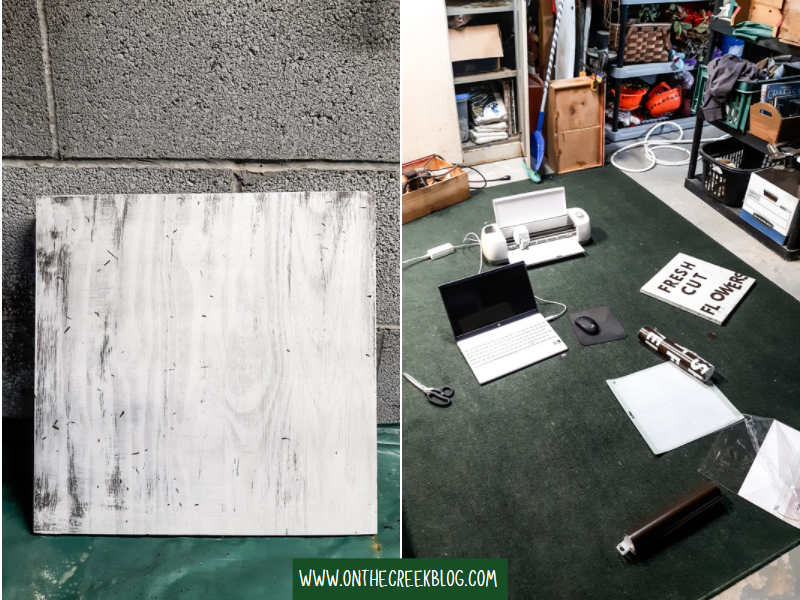
Once the aged look was created, I stained the entire board. I just used some dark stain I already had on hand. After that was somewhat dry, I painted over it with my signature white paint. I was going to be painting the board a few times, so I wasn't very precise with my coats. I also wanted to create an aged look with the paint, so several layers were necessary.
After the white paint dried, I painted the sign with my green paint & then white again. Although it was a lot of layers of paint, I saved a lot of time by being somewhat sloppy with my coats. It's kind of difficult to explain, so I'll have to do a video tutorial later when I make another sign!
Then it was time for lettering.
I once again created my template using Canva. Then I cut it out on my Cricut machine. Again, I cut my design out with vinyl so I could easily stick the letters to my board. Getting the letters straight on the board was still super tedious! I had even more letters this time, so it was more intense. When my patience was running low, I had my husband help me get them fairly straight! These style signs are super forgiving but I still wanted the lettering to be fairly straight.
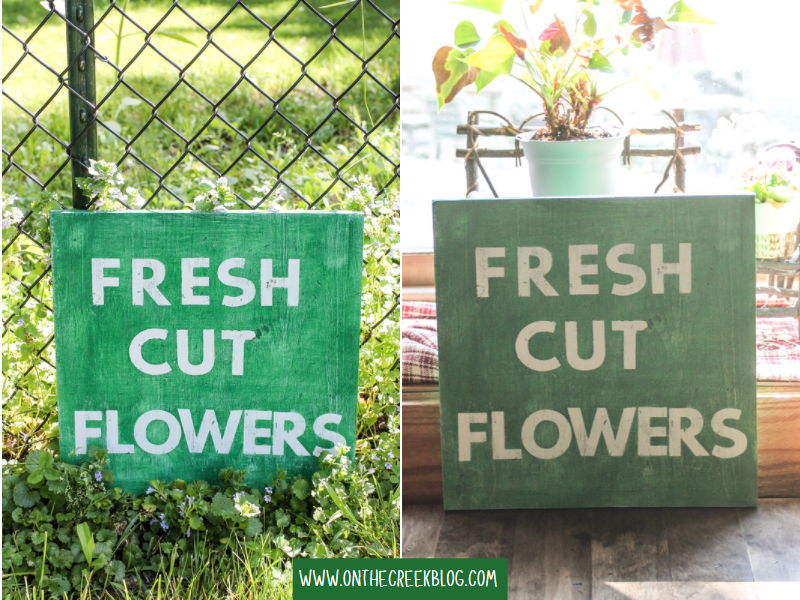
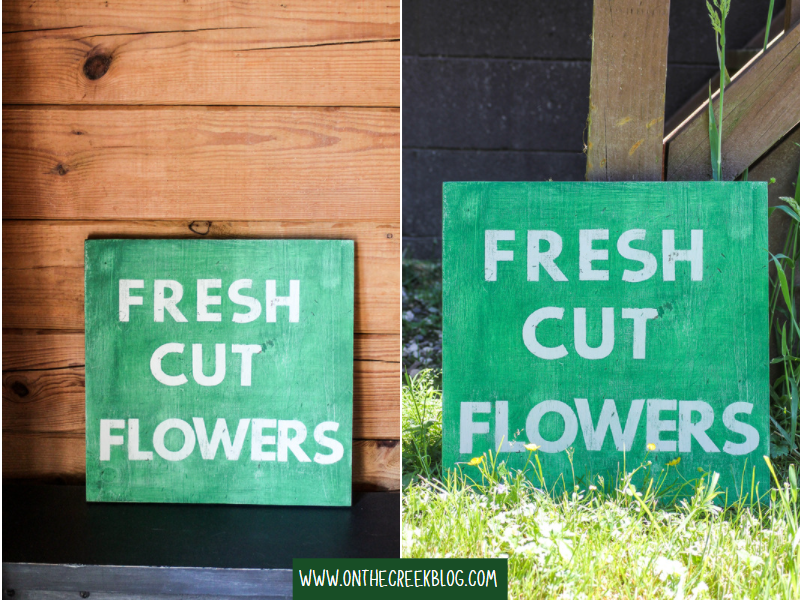
Once the lettering was on the board, I painted everything with my top color. I was going for a distressed look so I wasn't precise with my top coat either. I tried to paint in a way that brought out all the colors underneath.
Once I took off the letters, I used a sanding sponge to distress even more.
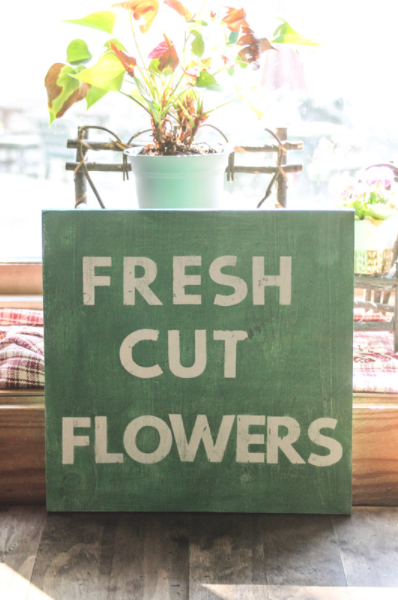
Overall, I think it turned out super cute!
I have one more piece of thick pine board left, so I might attempt to make another sign! It's still a learning experience but I'm still enjoying it!

.png)





No comments:
Post a Comment