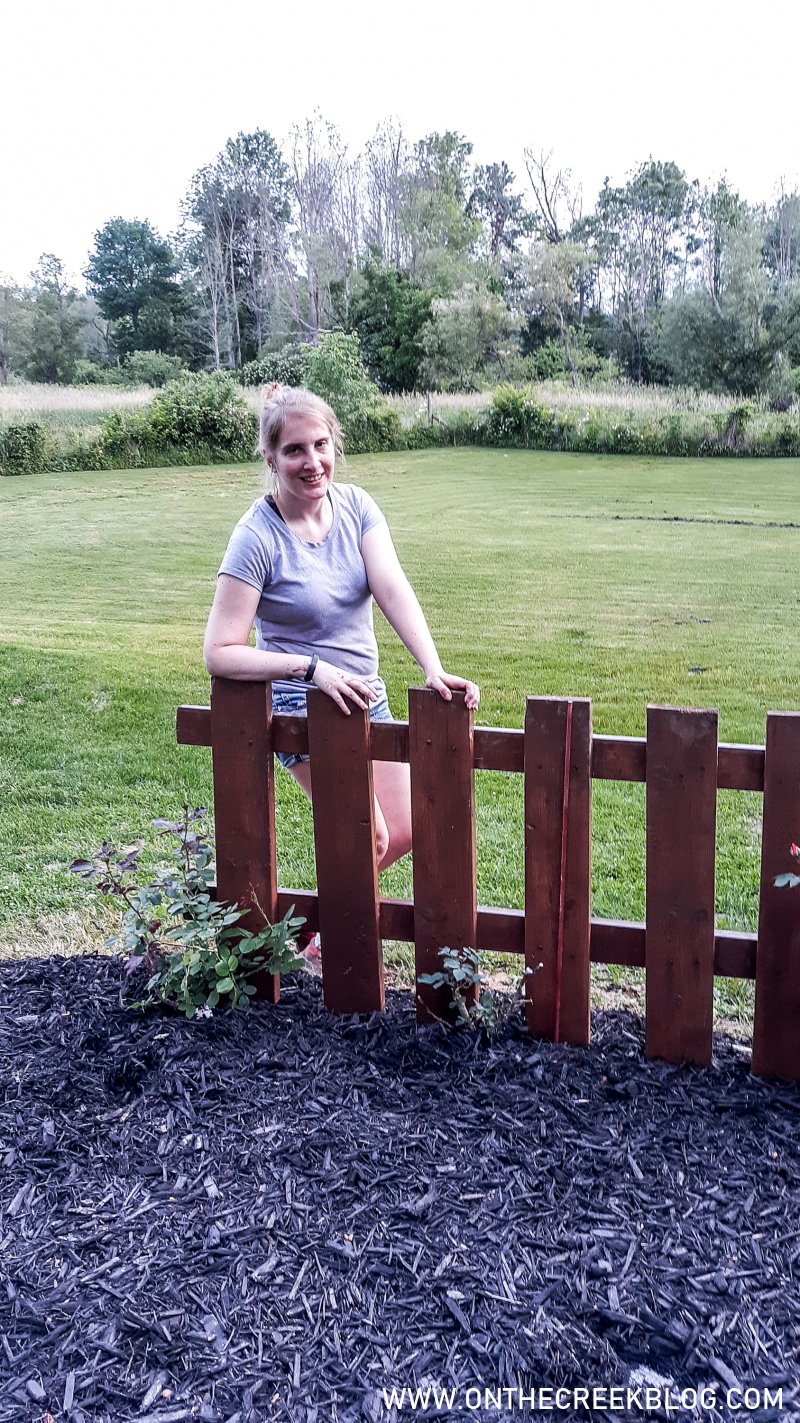
By using items I already had, I made a rustic looking fence panel!
As I mentioned in my spring yard walk, we finally planted our 10 cent roses & I couldn't wait to see what would happen with them!
I intentionally planted the climbing roses in the back & planned to put up a fence panel for them to climb on.
So I had the roses but not the fence panel.
Because I always want to do things on an extreme budget, I was putting off buying a fence panel. I couldn't see spending a ton of money on something that would eventually be covered up by roses!
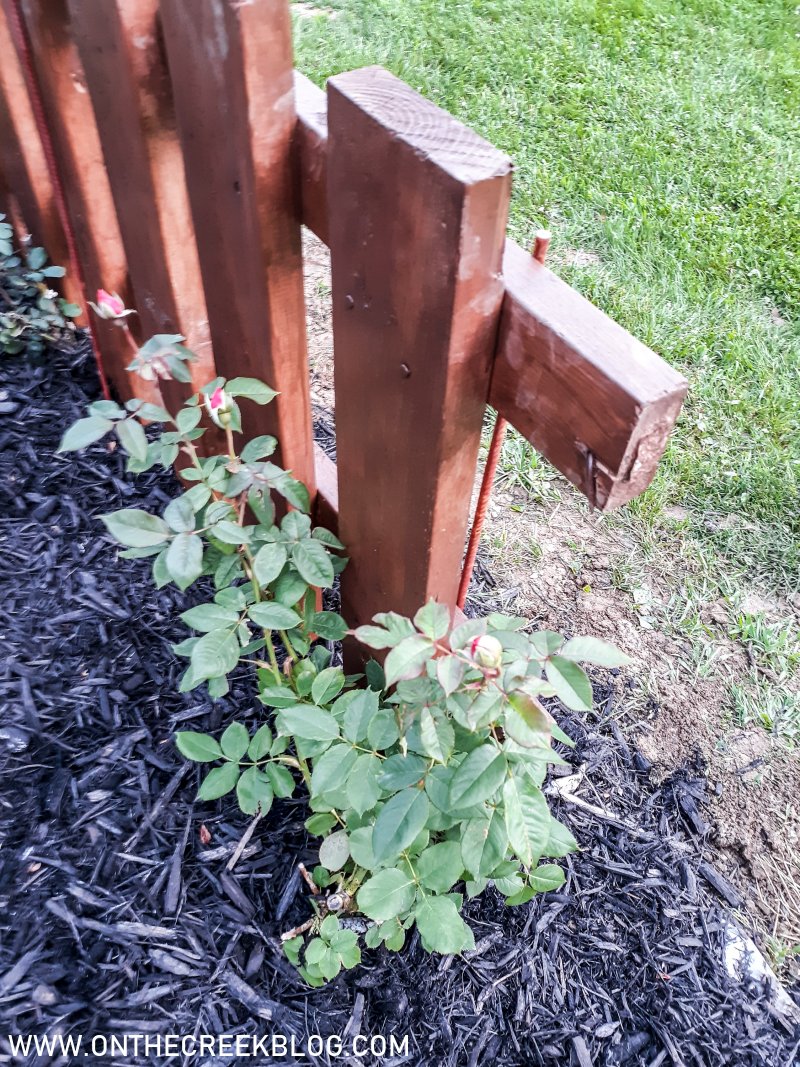

Last winter, I came across a rustic/shabby chic fence looking wood piece at a property we were working on. It then sat in the Kay House garage until about a month ago when we cleared the garage because the house was going up for sale.
When I saw the wood piece again, I thought it would make a perfect fence panel for my roses.
But here's the thing about the roses...
They died!
I think we waited too long to get them in the ground & they never recovered from it.
So now I had a fence panel but no roses.
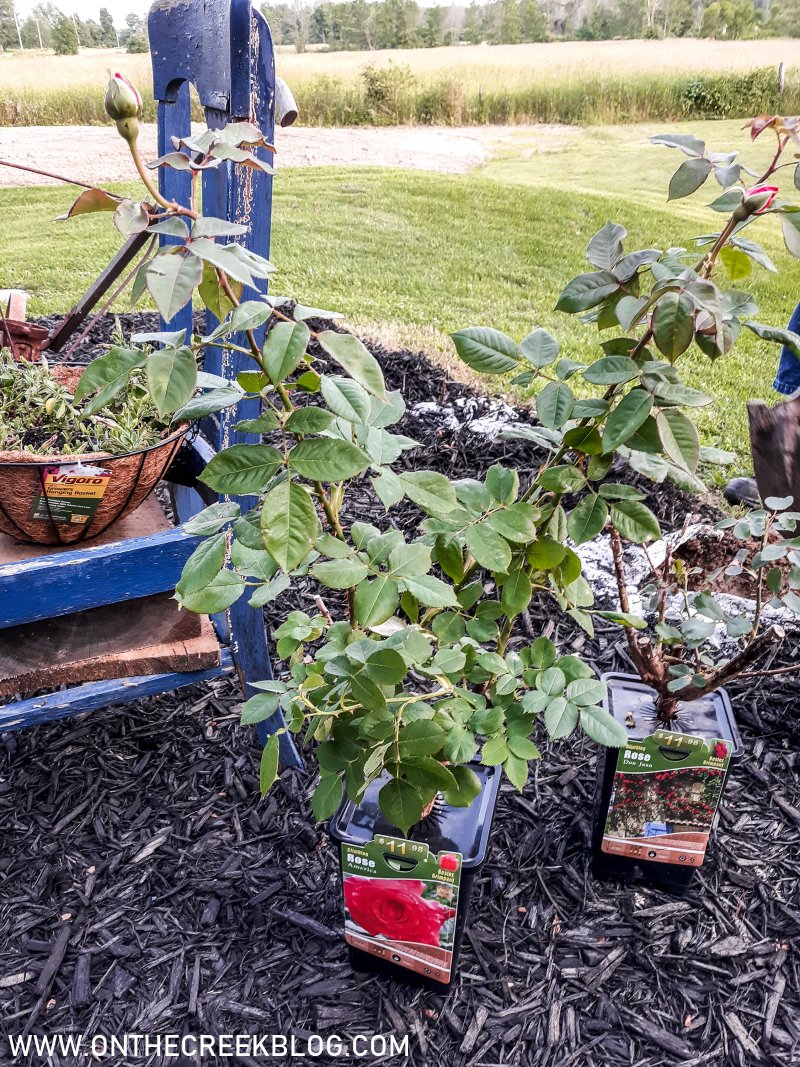
 So now I had a fence panel but no roses! Because I'm budget everything, I began to search for cheap roses. I was hoping to find a deal on climbing roses. I really wanted the super cheap roses that come in a bag, but they were nowhere to be found! I didn't want anything fancy. After searching for what felt like forever, I finally found some 50% off clearance climbing roses at Home Depot & picked a few up.
Now I needed to get my fence panel ready.
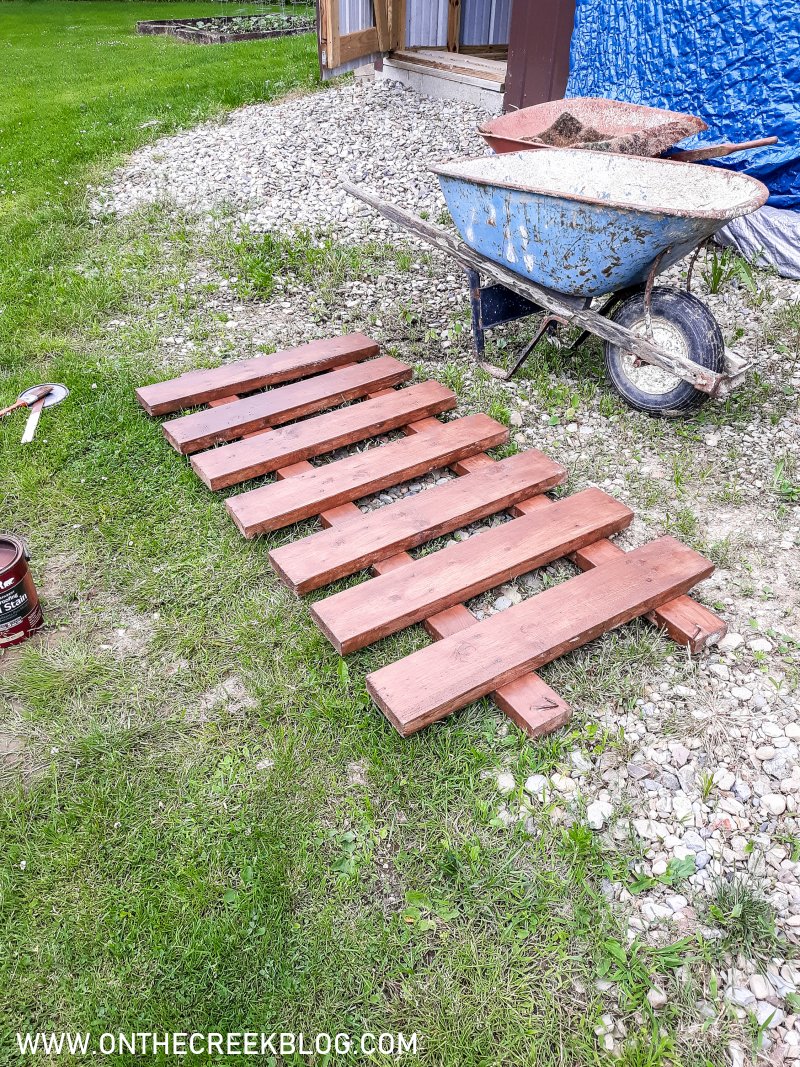
Since my fence panel was bare wood, I wanted to paint it. I found this deck stain in the basement from back when we remodeled our house & decided to try it on this project.
I did 2 coats on both sides of the fence. I brushed it on with a paint brush, forgetting that it was actually stain & should be applied & wiped off! I just kept going with the paint brush technique & it surprisingly worked out well. The coat is actually fairly even given my poor application!
Something I love about this paint is that it can be cleaned up with soap & water! A lot of stains are oil based & require mineral spirits or other things for cleanup. Cleaning my brush was super easy with this stain!
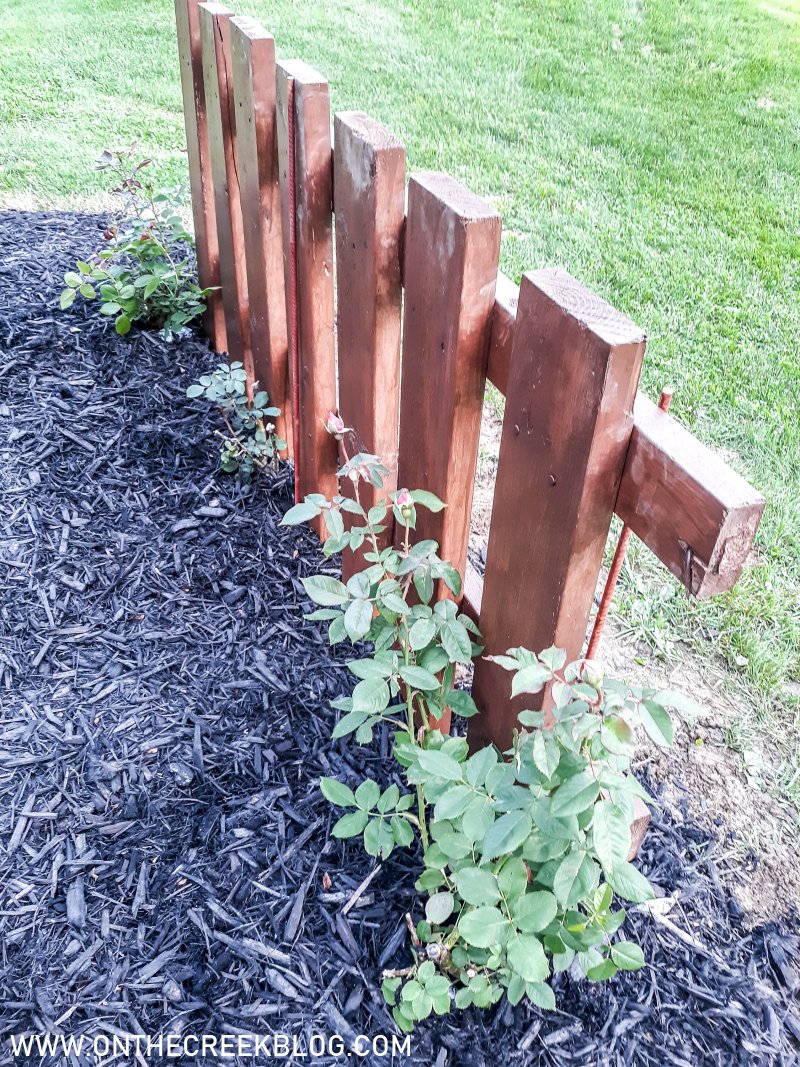
Once we replaced the old & dead roses with the new ones, it was time to put the fence up!


We just used some stakes in the back to hold up the fence. We put one in the front to keep it from falling forward & we were done!
I think it’s a super cute addition to our yard!
The best part about this project was that it was free! I'm a huge fan of upcycling things & I'm glad I was able to do that with this project!

.png)




Your brand-new wooden fence is beautiful to the eye. The issue with wood is that, if not properly cared for, its fresh appearance may rapidly turn dreary. So how do you maintain the appearance of your new wood fencing? Be aware of the type of maintenance needed and keep track of any issues.
ReplyDeletefencing sydney