Halloween is my favorite time of the year, so I wanted to jump-start my Halloween décor because I love it so much!
I ran out of time last year to make the famous faux terracotta pumpkins everyone was making, so I made them my first Halloween craft!
Because my entire life revolves around a more vintage aesthetic, I wanted my pumpkins to reflect that.
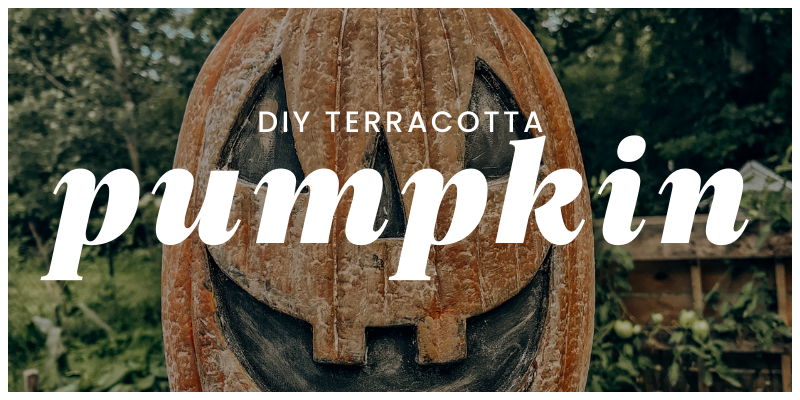
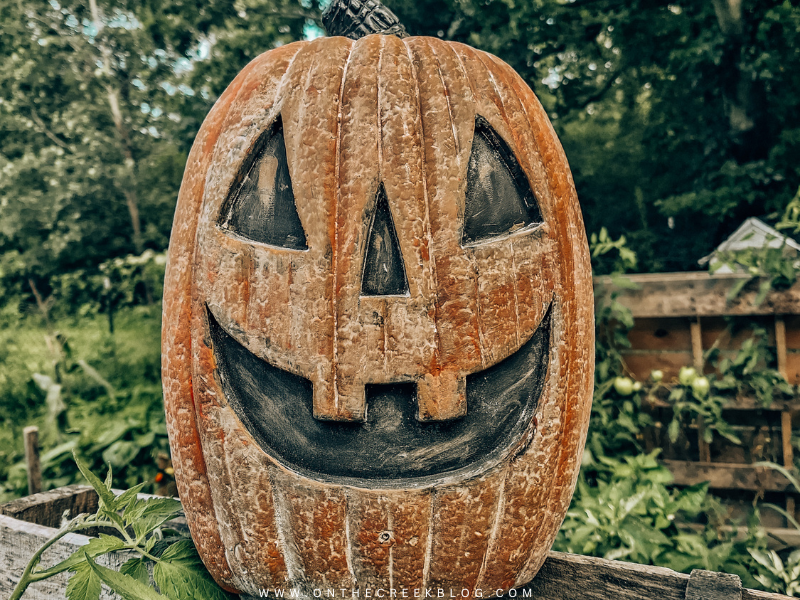
I found a cute jack-o-lantern pumpkin at the thrift store & created the faux terracotta pumpkin of my dreams!
Here is a step-by-step guide on how to turn plastic pumpkins into faux terracotta pumpkins using paint and flour.
Materials:
- Plastic pumpkins
- Acrylic paint in terracotta colors
- Paintbrushes
- Flour
Instructions:
- Paint the plastic pumpkins with your terracotta-colored paint (see colors below). Depending on the original color of your plastic pumpkin, you may have to do a couple of coats to get it to the desired color.
- While the paint is still wet, begin sprinkling your flour on the pumpkin, concentrating on getting in the cracks & texture of your pumpkin. It helps to use a small paintbrush to push the flour into the cracks.
- Shake off excess flour until you have your desired look. Apply a clear topcoat if desired.
- Let the pumpkin dry entirely, and then display it in your home or outdoor space as desired.
Shop terracotta paint colors & plastic pumpkins! As an Amazon Associate, I earn from qualifying purchases. Thank you so much for supporting my blog.

.png)


No comments:
Post a Comment