Building a handmade bench!
After searching for the perfect set of dining benches & coming up empty handed, I had an idea…
Why don’t we make them ourselves?!
My husband was completely against this idea!
Here’s the thing about my husband…He can be a bit of a perfectionist. When he does something, he wants to do it well. He likes to be extremely knowledgeable about something before he even attempts it.
He had never built a dining bench before & I think he was content with it staying that way! He had no desire whatsoever to build a dining bench. He encouraged me to keep searching & searching for the perfect set of dining benches that someone else has made!
I was not having it. I did the searches. I came up empty handed. Let’s make one!
After dodging me for quite some time, I finally sat him down & showed him a bench I loved. He loved it too.
It was from Ana White.
After showing him the step by step instructions, he finally caved & realized that he could build a bench…
Or that he was building a bench because I wouldn’t stop pestering him about it until it was built!
While I loved the simple & cheap look of the Ana White bench, my husband had his own ideas about our bench.
Off to the hardware store we went.
My husband likes to use stair treads because they’re a solid/glued material that are very straight & durable. Also, we had a few left over from when we built our grand staircase so they were accessible for building the spice shelf! We were all out of stair treads this time so we had to purchase one!
For the support boards & legs, he chose Poplar boards. He chose Poplar boards because they were smoother than traditional boards & reasonably priced.
My husband then picked up some cabinet screws to screw our boards together with. He chose the cabinet screws because they were stronger than the traditional drywall screws we normally use on everything!
Once we had our materials., it was time to build the bench.
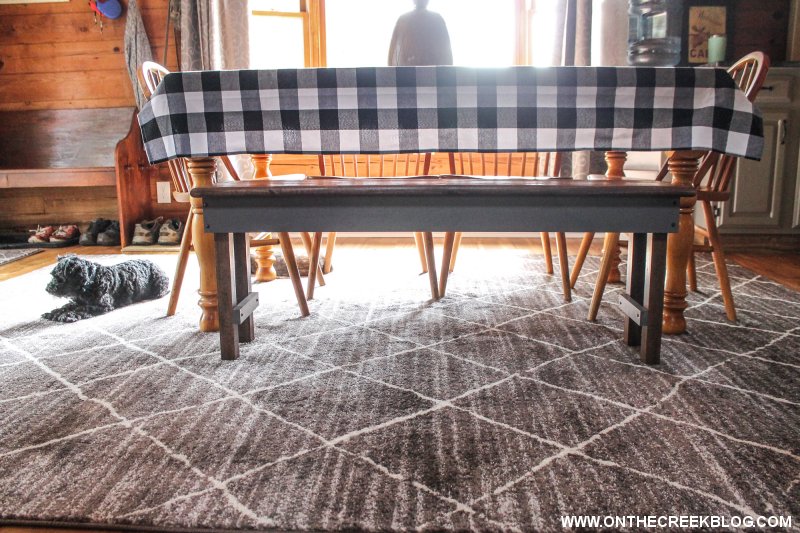
My husband built our bench specifically to fit underneath the table. All of his measurements were based on the size of our dining room table.
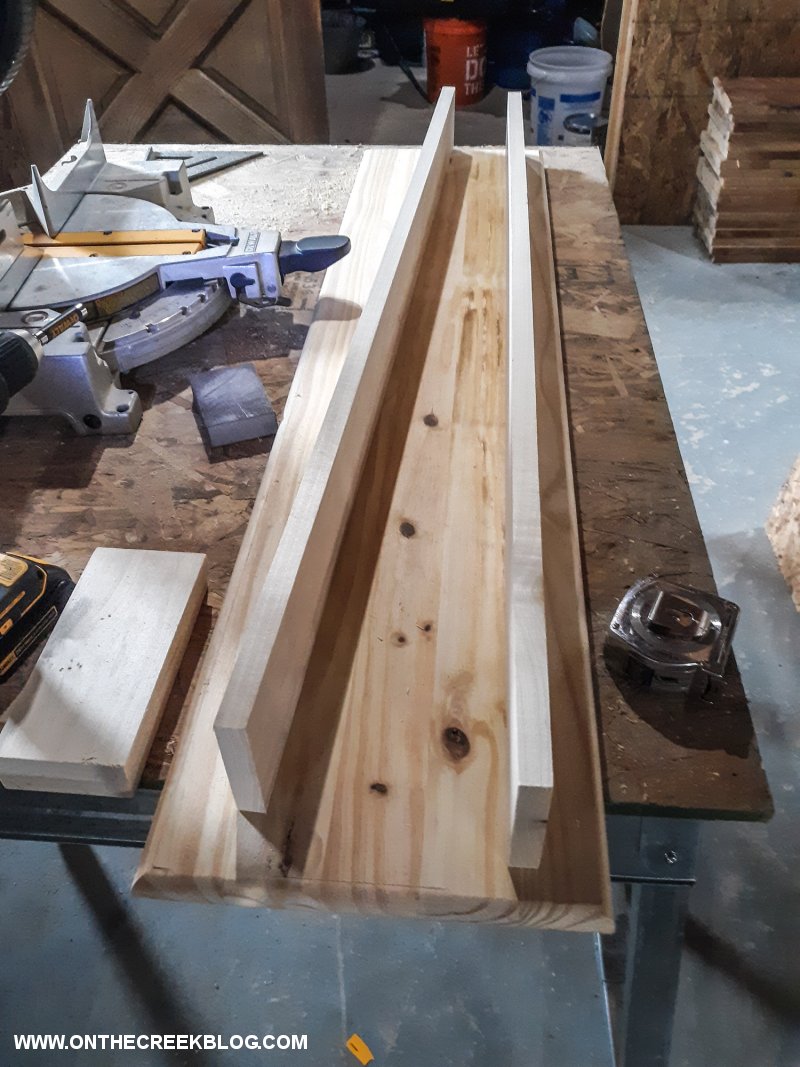
Once that was complete, he measured the exact dimensions of the tread & made the support boards 2 inches shorter than the tread. This meant the supports are an inch inward from the outside of the tread all the way around.
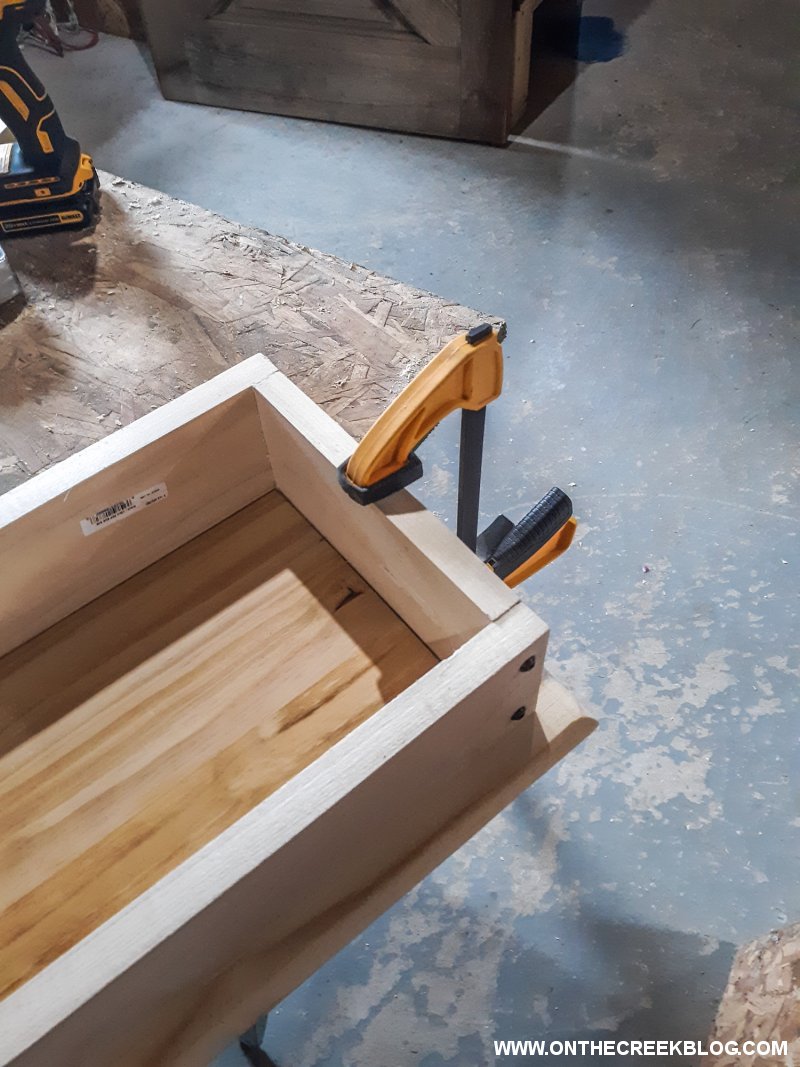
Then he connected the supports to the bench seat. We traced around the inside/outside of the support boards, pre drilled then screwed the top to the supports.
We then decided to add 2 lower leg supports for strength & stability.
Then it was time to paint & stain!
We ended up disassembling the bench for this part! I can be kind of messy when painting things! It was super important to me to keep the screws as neat as possible, so we just took everything apart & painted everything separate!
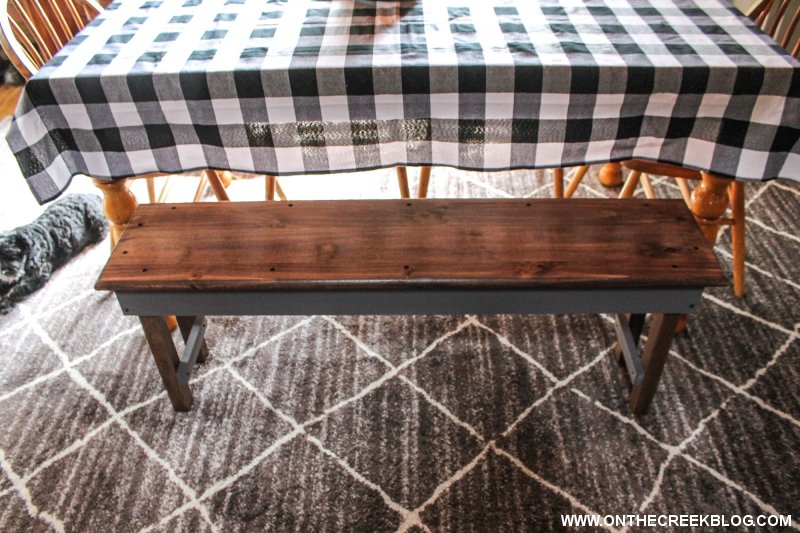
For the seat & legs, I used gel stain. For the sides, I used chalk paint I found at Aldi (more on that in tomorrow’s post!). Once everything was dry & sealed, we then put the bench back together!
The bench fit underneath the table perfectly! The only problem is the bench is a little narrow! Because we used the stair tread, the width was a fixed/narrow size.
But it was a good starting point!
I prefer a slightly wider seat, so we’re planning to make another wider bench! But next time, we have a plan of what to do!
PS: If you want to know more specifics about the bench, just let me know! I can totally write another post detailing the exact dimensions, the board sizes we used & how we attached everything! This post is just a general idea of how we made it!

.png)


No comments:
Post a Comment