Showing posts with label paint. Show all posts

Friday, September 20, 2019

,
Handmade bench transformed with Aldi's Deco Style Furniture Chalk Paint. | on the creek blog // www.onthecreekblog.com

Hey, Besties!

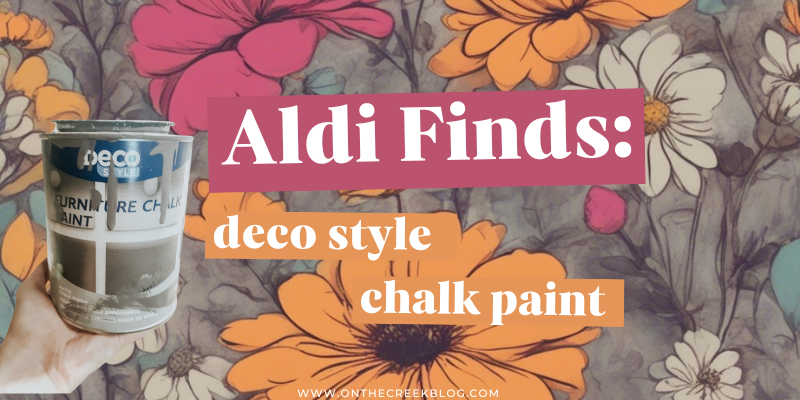
Guess what? I stumbled upon a bit of treasure during my latest Aldi escapade. Nestled between the avocados and the almond milk was this darling can of Deco Style Furniture Chalk Paint, priced at just $7.99! Naturally, I had to snag it.


Not a Paint Snob, Just a Thrifty Queen 

Let's get one thing straight: I'm no paint elitist. My basement is a kaleidoscope of mismatched paint cans, each with its own story to tell. Why? Because I'm a thrifty shopper at heart. I'm all in, whether it's a clearance sale at the local hardware store or a hidden gem at the Habitat ReStore.


The Thrill of the Paint Hunt 

You see, part of the fun is the unpredictability. Sometimes, you score big with a can of pristine paint; other times, let's say it's a "character-building" experience. But hey, that's the thrill of the hunt!

Handmade bench transformed with Aldi's Deco Style Furniture Chalk Paint. | on the creek blog // www.onthecreekblog.com

First Impressions: Thick & Dreamy 

I've already taken this Aldi chalk paint for a spin on a couple of projects, and let me tell you, it's like spreading frosting on a cake—thick and dreamy.


Vintage Gray: A Moody Love Affair 

Initially, the Vintage Gray shade had me skeptical. It looked like a gloomy day in a can. But oh, how it's grown on me! It's got this vintage, moody vibe that I'm totally vibing with now.


The Sealing Deal 

I even jazzed up our handmade bench with this Aldi wonder. A little wax to seal the deal, and voila! Pure magic. I'm also experimenting with water-based sealers, and so far, so good.


Handmade bench transformed with Aldi's Deco Style Furniture Chalk Paint. | on the creek blog // www.onthecreekblog.com

The Verdict: A Steal of a Deal 

Bottom line? This Deco Style Furniture Chalk Paint is a keeper. Quality and affordability in one cute can? Yes, please!


Final Thoughts

And there you have it, my take on Aldi's Deco Style Furniture Chalk Paint. Have you tried it? Share your thoughts in the comments below! 

Handmade bench transformed with Aldi's Deco Style Furniture Chalk Paint. | on the creek blog // www.onthecreekblog.com
Happy Painting! 🎨💕


Here is the brush I used to paint everything!  As an Amazon Associate I earn from qualifying purchases.

Monday, July 22, 2019

,

An old bench picked up at a yard sale gets a new painted makeover! | On The Creek Blog

An old bench gets a painted makeover!

Tuesday, October 23, 2018

,

Command Center Makeover using Annie Sloan Chalk Paint® in Country Grey

A thrift store command center makeover using Annie Sloan Chalk Paint®!

Tuesday, September 11, 2018

,

Milk can makeover using Annie Sloan Chalk Paint® in Country Grey

Check out my milk can makeover!

Monday, February 22, 2016

,
chalk paint

My obsession with chalk paint continues! For now, I'm just painting small things and trying to get a feel for the paint. I'm a total amateur at painting but practice makes perfect, right? Here are some things I've been painting lately. Right now I just have before pictures because they're not done quite yet. I recently splurged on some Annie Sloan Chalk Paint and I can't wait to show you what I'm doing with that!


frame before chalk paint
 
shelf before chalk paint

Wednesday, February 17, 2016

,
My husband and I are on vacation from work this week and the major projects we wanted to complete were refinishing the upstairs floors. Here's some pictures of the loft bedroom floor when we first purchased the house:

cabin loft bedroom before

cabin loft bedroom before

We could tell there used to be carpet up there because of the little pieces of carpet padding hanging out and also the many staples we pulled out of the floor. The floor is just standard tongue and groove boards. They also make up the ceiling of the downstairs area, which we didn't really notice until stain started dripping through the downstairs ceiling! The boards that make up the floor were in rough shape. Mystery stains were everywhere and we found some definite pet stains. With 25+ years of being there, the boards shifted all around and are far from perfect. The spacing is an issue, which resulted in the dripping ceiling. We figured if this didn't work out, we could always put carpet back up there, even though my plan for this house is for it to be completely carpet free.

To prep the floor, we first swept it with our wet/dry vacuum. We tried to get every piece of dirt out that we could, just to see what the floor looked like. Visually, it actually didn't look too bad after sweeping it. Then we completely sanded the entire floor with a sheet sander and belt sander. Yep, we were down there using the smallest sanders possible! The belt sander did take some of the stains away, but was cutting the floor in some places, so we broke out the sheet sanders, which actually did a fantastic job. We had a small snafu with one of the sheet sanders so my husband actually just took a drywall hand sander and sanded that way for a while! Total professionals here.

Once we got everything sanded, we vacuumed again. We were going to wait to put the stain down because we weren't sure if the floor was clean enough, but decided to stain as sort of a last minute decision before we left for the evening. 

Here's the stain we used:

minwax wood finish golden oak stain

We were hoping to match the stain on the loft floor, but felt it was impossible to match a 25+ year old floor. We had no idea what stain the previous owners used, so we just bought the lightest stain possible. There's going to be a door and drywall in between the loft and bedroom, so even if the stains didn't match, it wouldn't be such a big deal.

Staining the floor was actually the easiest part of this entire project. I took a paint brush and stained around the wall areas and my husband used a roller to put the rest of the stain on. We wanted the stain to cover the entire floor and we weren't sure if the roller could get in the corners so that's why I painted around the sides first.

Now we're just waiting for the stain to dry:

The floor actually looks really nice and the imperfections give it the primitive look, which I love and fits this house perfectly. As an added bonus, the bedroom floor and the loft floor actually match pretty well, which was an awesome surprise.
cabin loft bedroom after

cabin loft bedroom after

On the Creek blog is proud to be a part of the T&J Maintenance family - turning houses into homes.